An easy DIY photo transfer project, using re-cycled pallet wood, it’s a fun project to showcase your personal photos with just a little imagination and creativity. It will showcase your artistic inner self. It is unlimited what you can produce with re-cycled pallet wood.
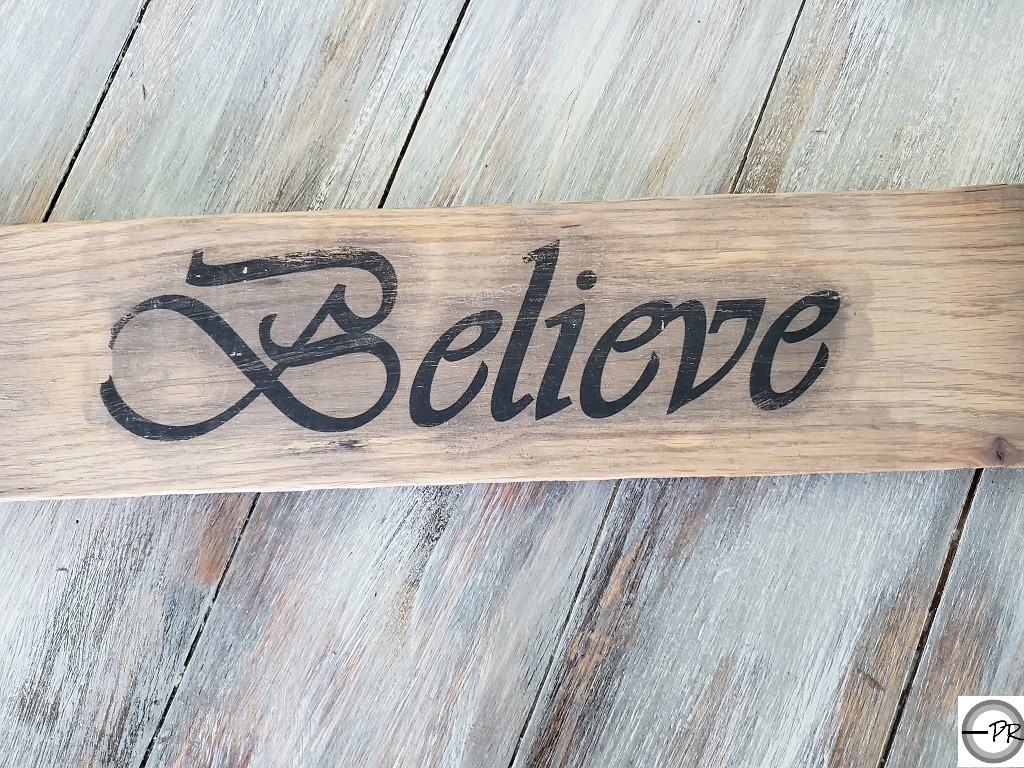
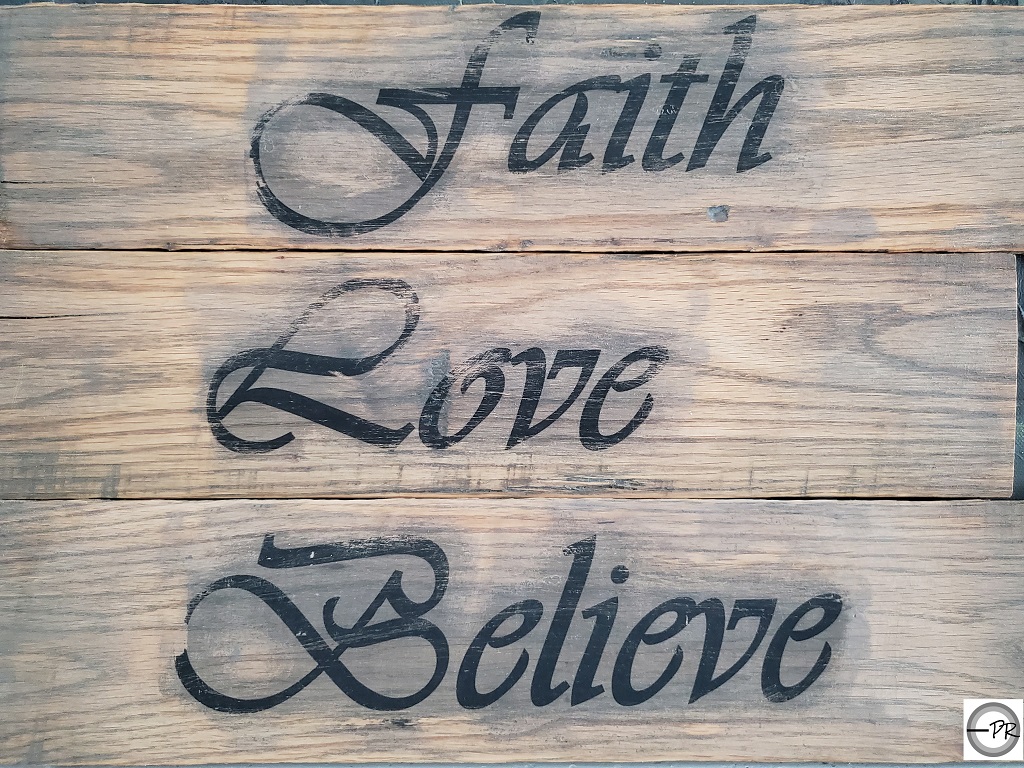
“FAITH LOVE AND BELIEVE”
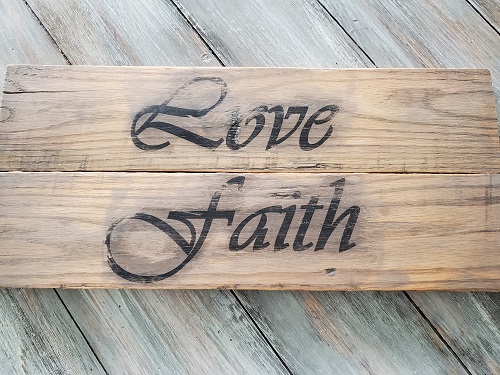
I decided to use unique words for my first transfer project, the saying “faith” “love” “believe”
EASY PROJECT PHOTO TRANSFER TO PALLET WOOD
You can find pallet wood at retail stores, warehouse flooring stores, development sites you will encounter disposed construction fall-off, it’s a dumpster find. After my selection of the pallet wood (did I mention this is a budget friendly project)?
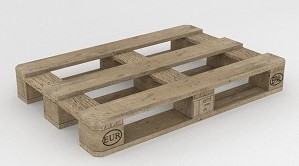
Once the pallet wood is in my craft room, we will remove the nails to produce the individual planks. Now that I have the individual planks, design the layout that works for your project. The artistic side will be revealed.
The design will comprise of three individual boards in an equal length and apply two additional plank boards to the back of the planks for support and a decorative stand.

RE-CYCLED PALLET WOOD TRANSFORMATION
In preparation of the re-cycled pallet wood, we used the application of a wood stain product. Other options; is to use latex paint or farm-distressed paint style wood for a make ready for the transfer.
Be innovative and let your STYLE stand out
It is as simple as using your laser printer. The photos you have stored on your phone or in the “cloud”. Find your favorite photo and print a color copy or black and white on your laser printer. IT MUST BE A LASER PRINTER AND NOT AN INK JET PRINT. The photo image printed in a “mirror image” format.

TRANSFER MIRROR IMAGE
Before placing your transfer on the make ready wood plank; use a foam brush and apply an even coat of the Mod-Podge on the face of the photo. Place the photo face down on the plank wood. Rub gently on the transfer to adhere to the plank. Apply another even coat of the Mod-Podge to the entire surface. Let dry overnight.
REMOVE THE TRANSFER
By using a damp cloth, apply some pressure on the transfer paper before gently rubbing it off. As you gently rub the cloth over the transfer with a circular motion, you will notice the paper roll off. The transfer image will appear on the wood plank.
Take your time with this process, by lightly rubbing the transfer paper off the plank. Clean your rag with new water and wipe the plank completely to wipe away any leftover paper left on the image.
DISTRESSED TRANSFER IMAGE
The transfer image will be a perfect image from your print from your laser printer. During the process, it may rub a few areas off transfer; this is the character of the project. It will appear distressed and will look authentic.
TRANSFERING AN IMAGE IS AN ART!
Thank you for visiting OUR BLOG and please subscribe to receive news and updates! #diypalletwood #diytransfer #diydesign #webelieve #blogger #amazing #pellrevive #followus www.pellrevive.com