Hi Y’all! Do you have a piece of furniture that needs a restoration? We want to share how using a stencil design will revolutionize your furniture into “AMAZING CHARM”
IDEAS FOR A NEW LOOK:
The discovery of using stencils adds character and charm on wood projects; furniture, cabinet doors, and wood chest/stools or using recycled pallet wood for a home décor.
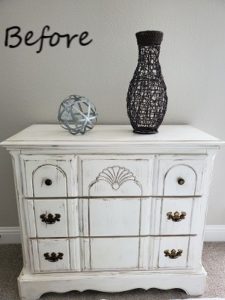
We have an “old” white dresser in our spare room that just needs some LOVIN’
An old dresser will lose their charm over time with ever-changing style trends. If you have an “aged” dresser, and it desires a renewed look, let’s plunge in and give it a new look today!
PREPERATION DRESSER:
Refurbish your dresser, it will need to be cleaned thoroughly and remove any old stain, varnish or paint. Using either sandpaper or paint stripper works well to remove the old finish.
 For best results, apply furniture or chalk paint to the furniture surface. This paint is easy to use and adheres to the surface vs other types of paint products. If you use layers of paint for the distressed appearance; use a light grit sand paper on corners of dresser and other areas to get the look of distressed charm.
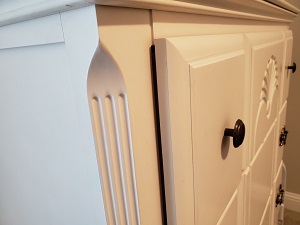
Our Project, an old white dresser sanded, cleaned and prepped for a distressed look. Using a 2 –inch paint brush, apply the grey furniture paint with small paint strokes. Next, use a rag to gently rub it off. Continue with process and repeat until the outcome of the distressed look is desired.
SELECT YOUR STENCIL DESIGN:
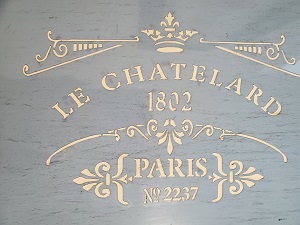
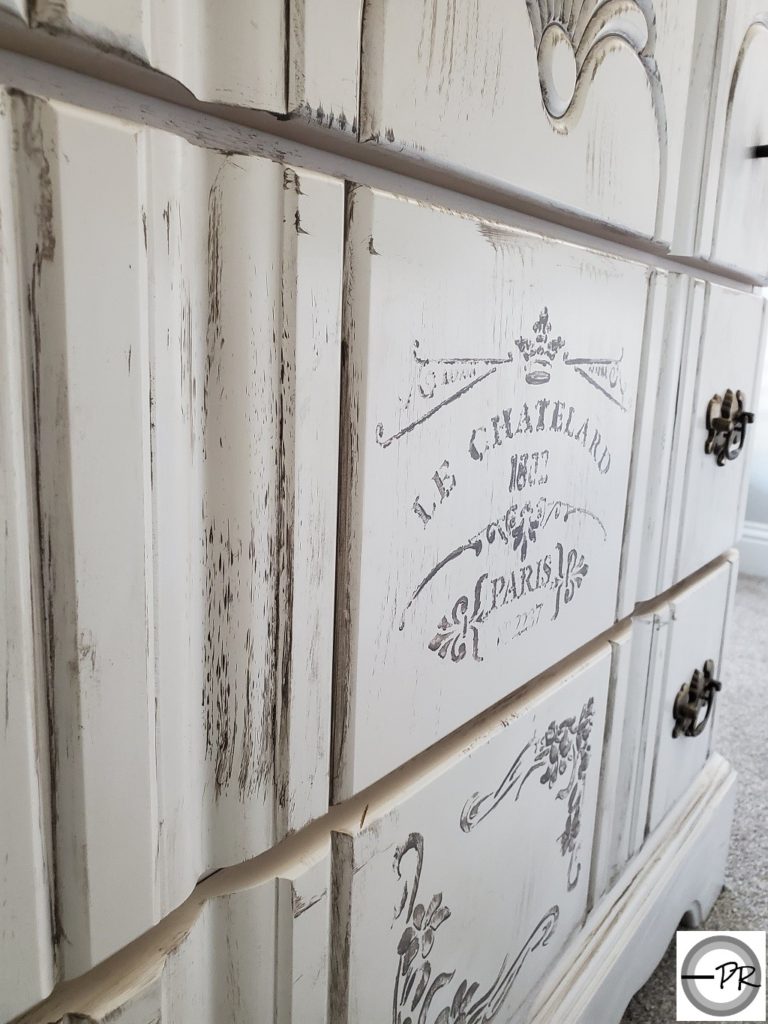
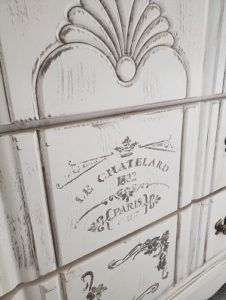
We decided “Le Chatelard 1802 Paris” Stencil by #StencilMePretty and applied it on the dresser after we completed the distressed look. A stencil format allows you to be creative with your design and adds character to your furniture.
Just a few supplies:
–Stencil (La Chatelard 1802 Paris by #StencilMePretty
ADDING STENCILS TO FURNITURE
I applied the stencil on the face of the drawers; add a couple pieces of blue painters tape to hold in place. I gradually applied a small amount of the furniture paint over the stencil; it was an easy and simple process. After done with paint, remove the stencil. Lightly sand the surface for an antiqued look using very fine grit sandpaper. It is an awesome reveal!

An antique look? Lightly sand the surface for an antiqued look using very fine grit sandpaper. It is an awesome reveal!
We recommend sealing your transfer with a finishing coat to protect your stencil and wood project.
Enjoy using stencil transfers on your next wood projects, it definitely changes the character of your furniture and turns it into AMAZING CHARM!
It will be addicting!
Thank you for visiting OUR BLOG and make sure you subscribe to receive news and updates! #furnitureredo #diydresser #stencilidea #webelieve #blogger #amazing #furniturepaint #pellrevive