It takes months to design your personal house plan. The planning and preparation of your ideas are vivid on the blueprint by communicating the plan’s ideas and designs features with your architect.
The designing aspect of your home with your overall thoughts will develop on paper each step of the way. The careful planning of designing your kitchen, bedroom sizes, bathroom, ceiling height, are all decisions to make during the design stage.
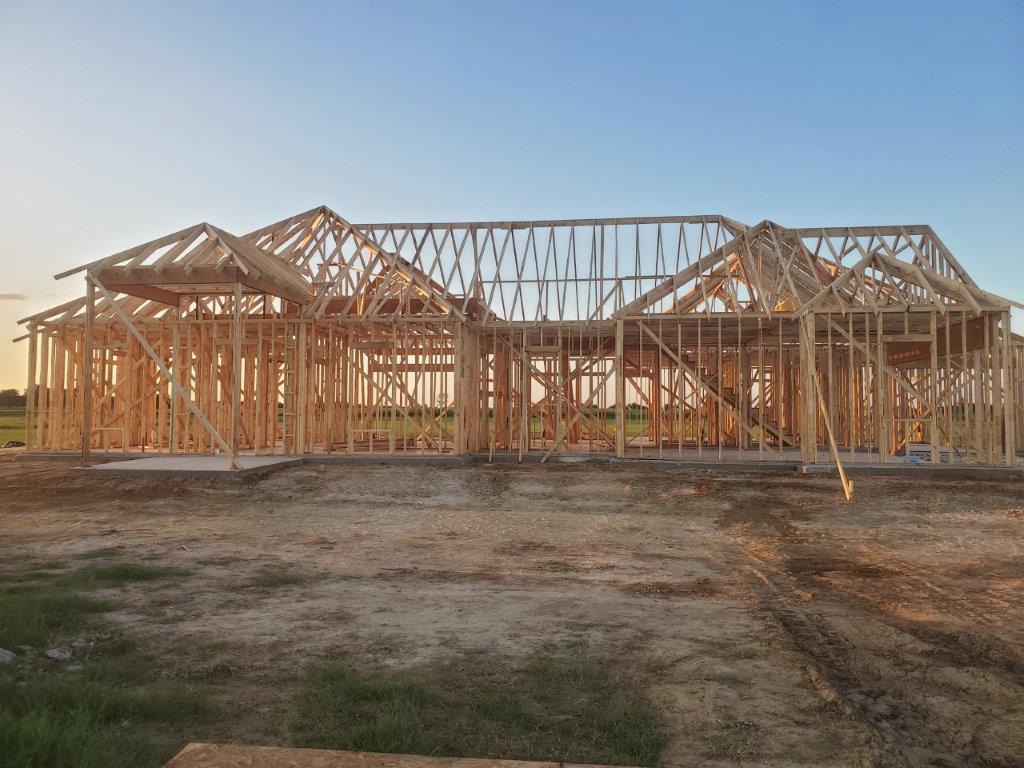
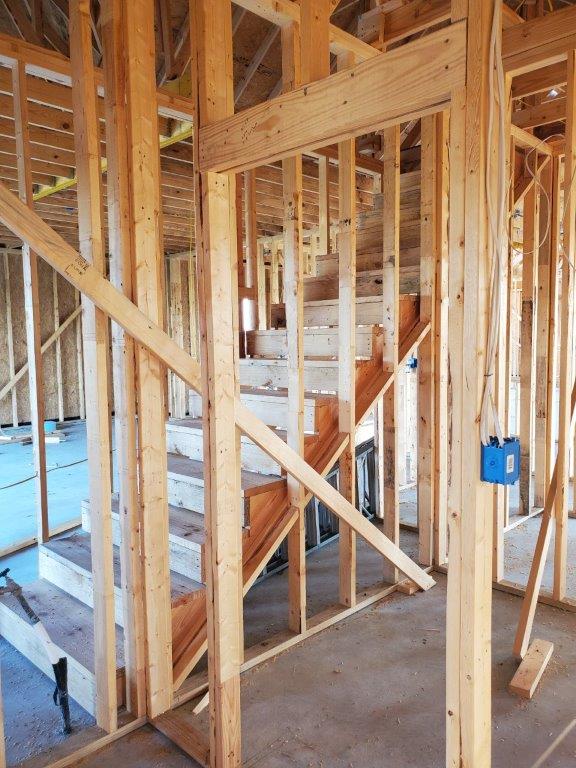
The framing stage of construction begins is an important step. Once you have plans in hand, it’s your building framing that makes the blueprints come to life. It’s exciting to watch your home go vertical and take shape.
A building’s frame is the skeleton that supports all the finishing features, like sheetrock, doors, windows and even your roof.
TIP #1 – What GRADE of Lumber do you use?

The selection of number-one graded lumber is the best wood choice for your home. This type of wood grade is a better grade quality, however it could cost more. This will type of lumber grade will have less shrinkage and fewer knots.
TIP #2 – What is Engineered Lumber?
It is common in home building to use engineered lumber used in the framing process. There are advantages in the adaptation of engineered lumber, and allows framing contractors to build a more dynamic house type than they could build in the past.
Engineered lumber is typically a composite of both lumber byproducts and engineered wood applied together for various uses; and to be used for floor joists vs using solid dimensional lumber.
TIP # 3 – What is Composite Lumber?
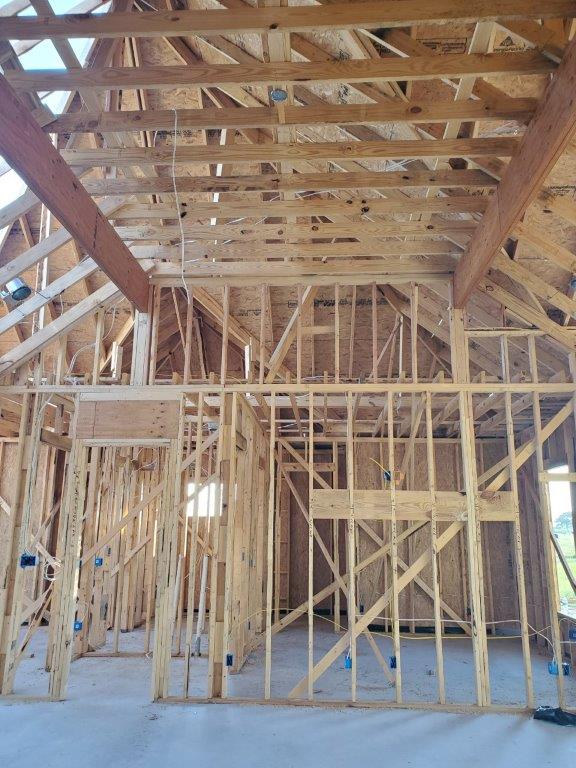
The composite lumber comes in forms of beams or LVL’s, floor joists and wood-I-beams.
TIP #4 – Framing Begins
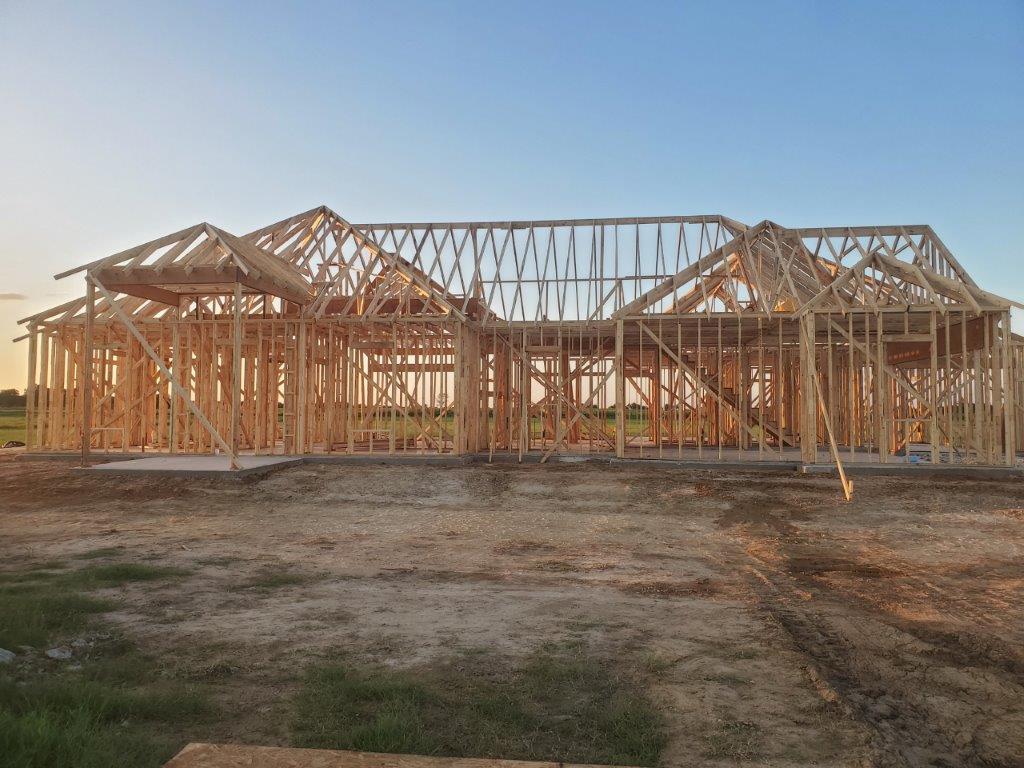
The beginning of framing process is installing the bottom plate with pressure treated lumber around the perimeter of the house. The joist, sill and studs are the common reference for a single – story home. These three basic elements joined to form the skeleton of the home.
The sill plate; also known as the “bottom plate” is the portion of framing that sits on the concrete foundation; the pressure treated lumber is to be anchor bolted to the concrete foundation.
The studs; As the framing crew lay out the studs; this will be the vertical walls and spaced according to the architecture design plans as shown for windows and doors.
The joists; are the horizontal lumber for framing the flooring or ceiling of your home design. The lumber sits on the walls and supports the roofing.
Bora Care Treatment is an application to be applied to the exterior base plate lumber; and approximately two to three feet up the framing walls. This is a preventive measure to treat the exterior wood from termites.
This is an important phase of your building process, and keeping up with everything can be challenging. It’s important to meet with your builder, architect and sub-contractors regularly to address any issues of the project; and make decisions to keep the job moving forward successfully.
To design a room and incorporate a personal interior design style; the mix of trends to comprise modern, farmhouse design or contemporary are among the most popular trendy styles. By combining elements of several unique styles to create the ideal look.
Looking for a professional commercial brokerage firm; Sylvia Pell with Pell Realty Group will be happy to assist with your real estate transactions.
I’d love for you to connect with Pell Revive by following on Facebook, Twitter, Instagram, or Pinterest. I’d love to hear from you! Just send me an email through my contact form {here}. Thanks so much for stopping by!
Related Blog Posts
6 TOP Stunning Ceiling Ideas; A Few Educational TIPS to help Child Safety your Home; What Plants do you Grow Inside; Impressive Home Designs; 5 Ideas for FALL Décor for your Home; 5 TIPS for DIY FALL Décor for your Living Space; Nursery Room IDEAS on a BUDGET; 5 Ideas for FALL Décor for your Home; 6 Ideas for TRENDY Décor Styles; Design “happy place” in your Living Room; Intriguing Ideas for Shiplap in your Home; Ideas for a Dramatic Front Door; Tile Ideas to Inspire you for your next Project; TIPS to Save you Time and Money on your Landscaping;

