Hi Y’all! Let’s start the day off with a DIY STRING ART project. String art is simple to do, and a rather inexpensive project! All you need are few items, wood, nails, a hammer, and embroidery string!

Not to mention it is a lot of FUN. This is our first attempt at a string art project and it turned out okay!
Once you have selected your choice of wood, you have the option to paint or stain prior to applying the string art pattern design.
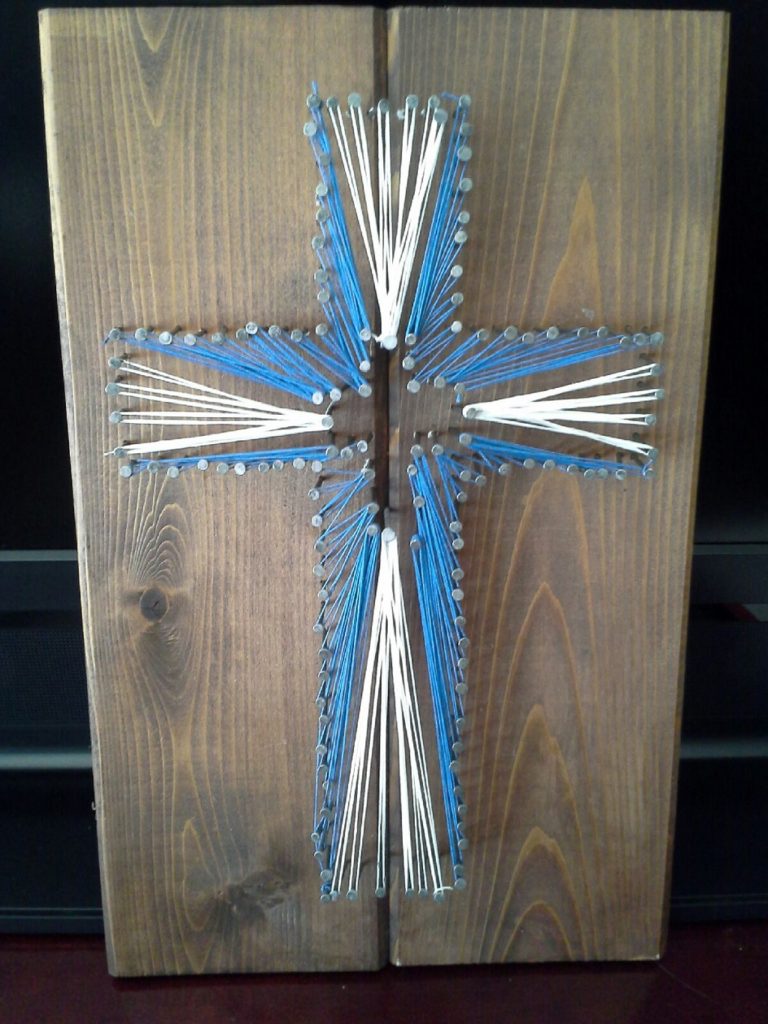
 The pattern used for this project is a simple CROSS. Let’s get started, follow us on this tutorial for an effortless art project today!
SUPPLIES:
- Wood (12-inch x 18-inch)
- Minwax stain
- 1-inch nails
- Embroidery string (blue and white)
- Hammer (small)
- Printer (print template)
DIRECTIONS:
- The wood selected for my project, is a pine wood with dimensions of 12-inch x 18-inch.
- Lightly sand the wood surface and apply a Minwax stain. Let dry completely.
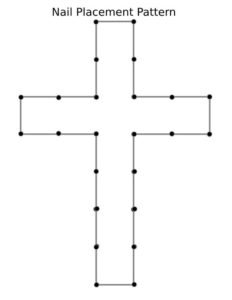
- The design selected is a standard CROSS, print the design as your template to fit the size of your wood size.
- The next step, using one-inch standard nails.
- Using your hammer arrange the nails by following the pattern. After all the nails are set and standing straight, pull the paper template from the wood.
- NOW COMES THE FUN PART!
- Next step, start weaving the embroidery string, back and forth between the nails on the outside and the nails on the inside. When you’re finished weaving the string to each nail, trim the tied ends close to the knots.
Hey, just have FUN, let the creative juices flow naturally. The end result, you will have an amazing-looking STRING ART!
Thank you for visiting OUR BLOG and make sure you subscribe to receive news and updates on our new posts! #stringart #colorful #wow #amazing #artdiy #inspiration #followme #blogger #pellrevive